
GF Recipes | Miso + Coconut Cookies

There are many things I love about growing older— my friendships become a little more steadfast, I appreciate the little things in life with a greater clarity, and I am more self-assured in my art and work. What I don't love is my newfound gluten sensitivity! Who else is with me? I've learned to cut gluten-corners here and there, but one trip to Richmond's darling bakery, Chairlift, has me cheating on the gluten-free bread at home! Luckily, another great things that has come with age is a greater appreciation for making things from scratch— wink, wink (check out our dying process here)— so I now give to you, my favorite tried and true cookie recipe.
This recipe was inspired by my love for sweets, and my desire to leave guilt behind when it comes to matters of post-dinner affairs. I will most likely never give-up dessert, so to remedy my stubbornness— I've concocted a most delicious miso-coconut dessert that even the kids love (and can't tell it's GF).
You will need:
1 cup of softened (not melted) butter (I use Earth Balance, soy-free, vegan butter)
⅔ cup of brown rice miso paste
⅔ cup white sugar
⅔ cup brown sugar
1 ¾ cups of coconut flour (all-purpose works just fine if you’d like a non-GF option!)
1 egg
1 tsp of vanilla extract
1 tsp kosher salt
1 tsp baking powder
½ tsp baking soda
(almond paste, optional)
- In either a stand-alone mixer or using a rubber spatula, mix together the butter, miso, and sugar in a large bowl (large enough to add dry ingredients later). This will take about 3 minutes with the mixer and 5-6 by hand. Ensure the ingredients are well-blended with no clumps. Fluffiness desired.
- Mix together all the dry ingredients (flour, baking powder, baking soda, salt) in another bowl to ensure they are well-distributed. Sifting will do wonders for the dough but it is not required.
- Slowly incorporate tbe dry ingredients into the batter. This may take a bit of time, as you want to ensure there is no clumping and that everything is evenly incorporated. Then, add the egg and vanilla and mix until you have a reasonably thick, soft, doughy ball.
- Cover the bowl with plastic wrap and pop it in the fridge for at least three hours. This will ensure that the dough maintains shape when in the oven and will prevent from over-cooking, thinning, and help maintain the miso’s bright yet delicate flavors.
- After the waiting period, preheat the oven to 350 degrees Fahrenheit. While you’re waiting for the oven to heat, roll your cookies into 2x2 discs. They should have the shape and height of a tangerine, if you were to cut one in half.
- Place the dough balls in the freezer for 10-15 minutes, then place them evenly on a lined sheet. I usually make six at a time, this allows enough room for the cookies to expand.
- Bake for 10 minutes. At the ten minute mark, use a tea spoon to make an indentation at the top of each cookie— as if you were to press your thumb in the middle of each ball. Then place a quarter-sized amount of almond paste in the divot.
- Bake for an additional 6-10 minutes, depending on how you prefer your cookies. (I like mine a little more toasty).
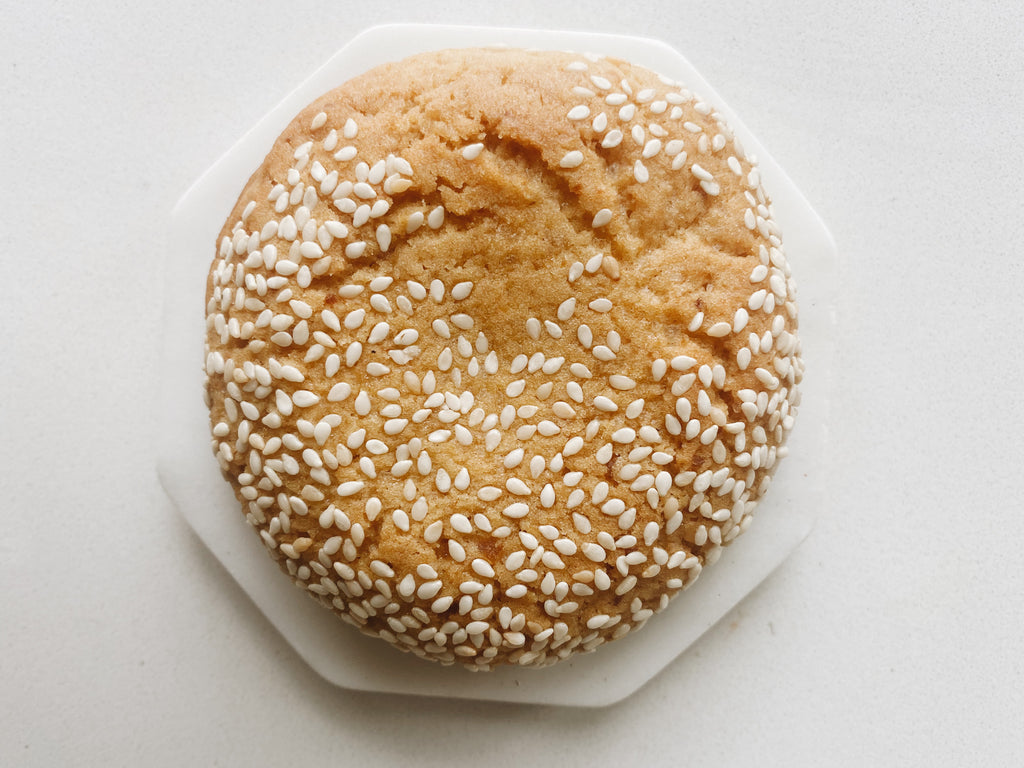
- If my sweet tooth is going especially crazy, I’ll dust a little matcha/confectioner’s sugar blend (3 sugar : 1 matcha, you don't need much) on the top of each cookie for an earthy-sweet flavor. I highly recommend this matcha from my friends at Boketto Wellness! Alternatively, for a savory twist, roll the dough (before freezing it) with sesame seeds, as photographed, then pop in the oven. This will also toast the sesame seeds and add a little crunch to each bite!
Enjoy!